I use Dreamhost. Have been since 2008. If you're not using Dreamhost... well, go sign up and here's $50 off of the $97 yearly plan.
Now some folks reminded me recently that the Perf calendar was not yet migrated to HTTPS... True enough. I have to do it. Eventually. In any normal situation I'll procrastinate indefinitely, but since I had more pressing things to do and "Anyone can do any amount of work, provided it isn’t the work he is supposed to be doing at that moment"... I bit the bullet.
Below are the steps that worked for me with a WordPress blog, hosted on DreamHost. The steps are still relevant to any WordPress site, just using Dreamhost as an example and since Dreamhost makes many of the steps easy. Also note that Dreamhost offers automated install of WordPress ("one-click installs") and something called Dreampress. My case wasn't any of those, just a plain old self-install. So some of the steps might be different if you use any of those services.
Steps
- Setup free SSL certificate thanks to Let's Encrypt
- Backup all the things (or just the blog's database or just the table with the posts)
- Search and replace internal references (images and links)
- WP settings
- Redirect http to https permanently in
.htaccess - Test/tweak?
SSL certificate
Thanks to Let's Encrypt you can have a free certificate. Dreamhost makes it trivial to use.
Under Domains/Secure Hosting you go add a new Let's Encrypt cert:
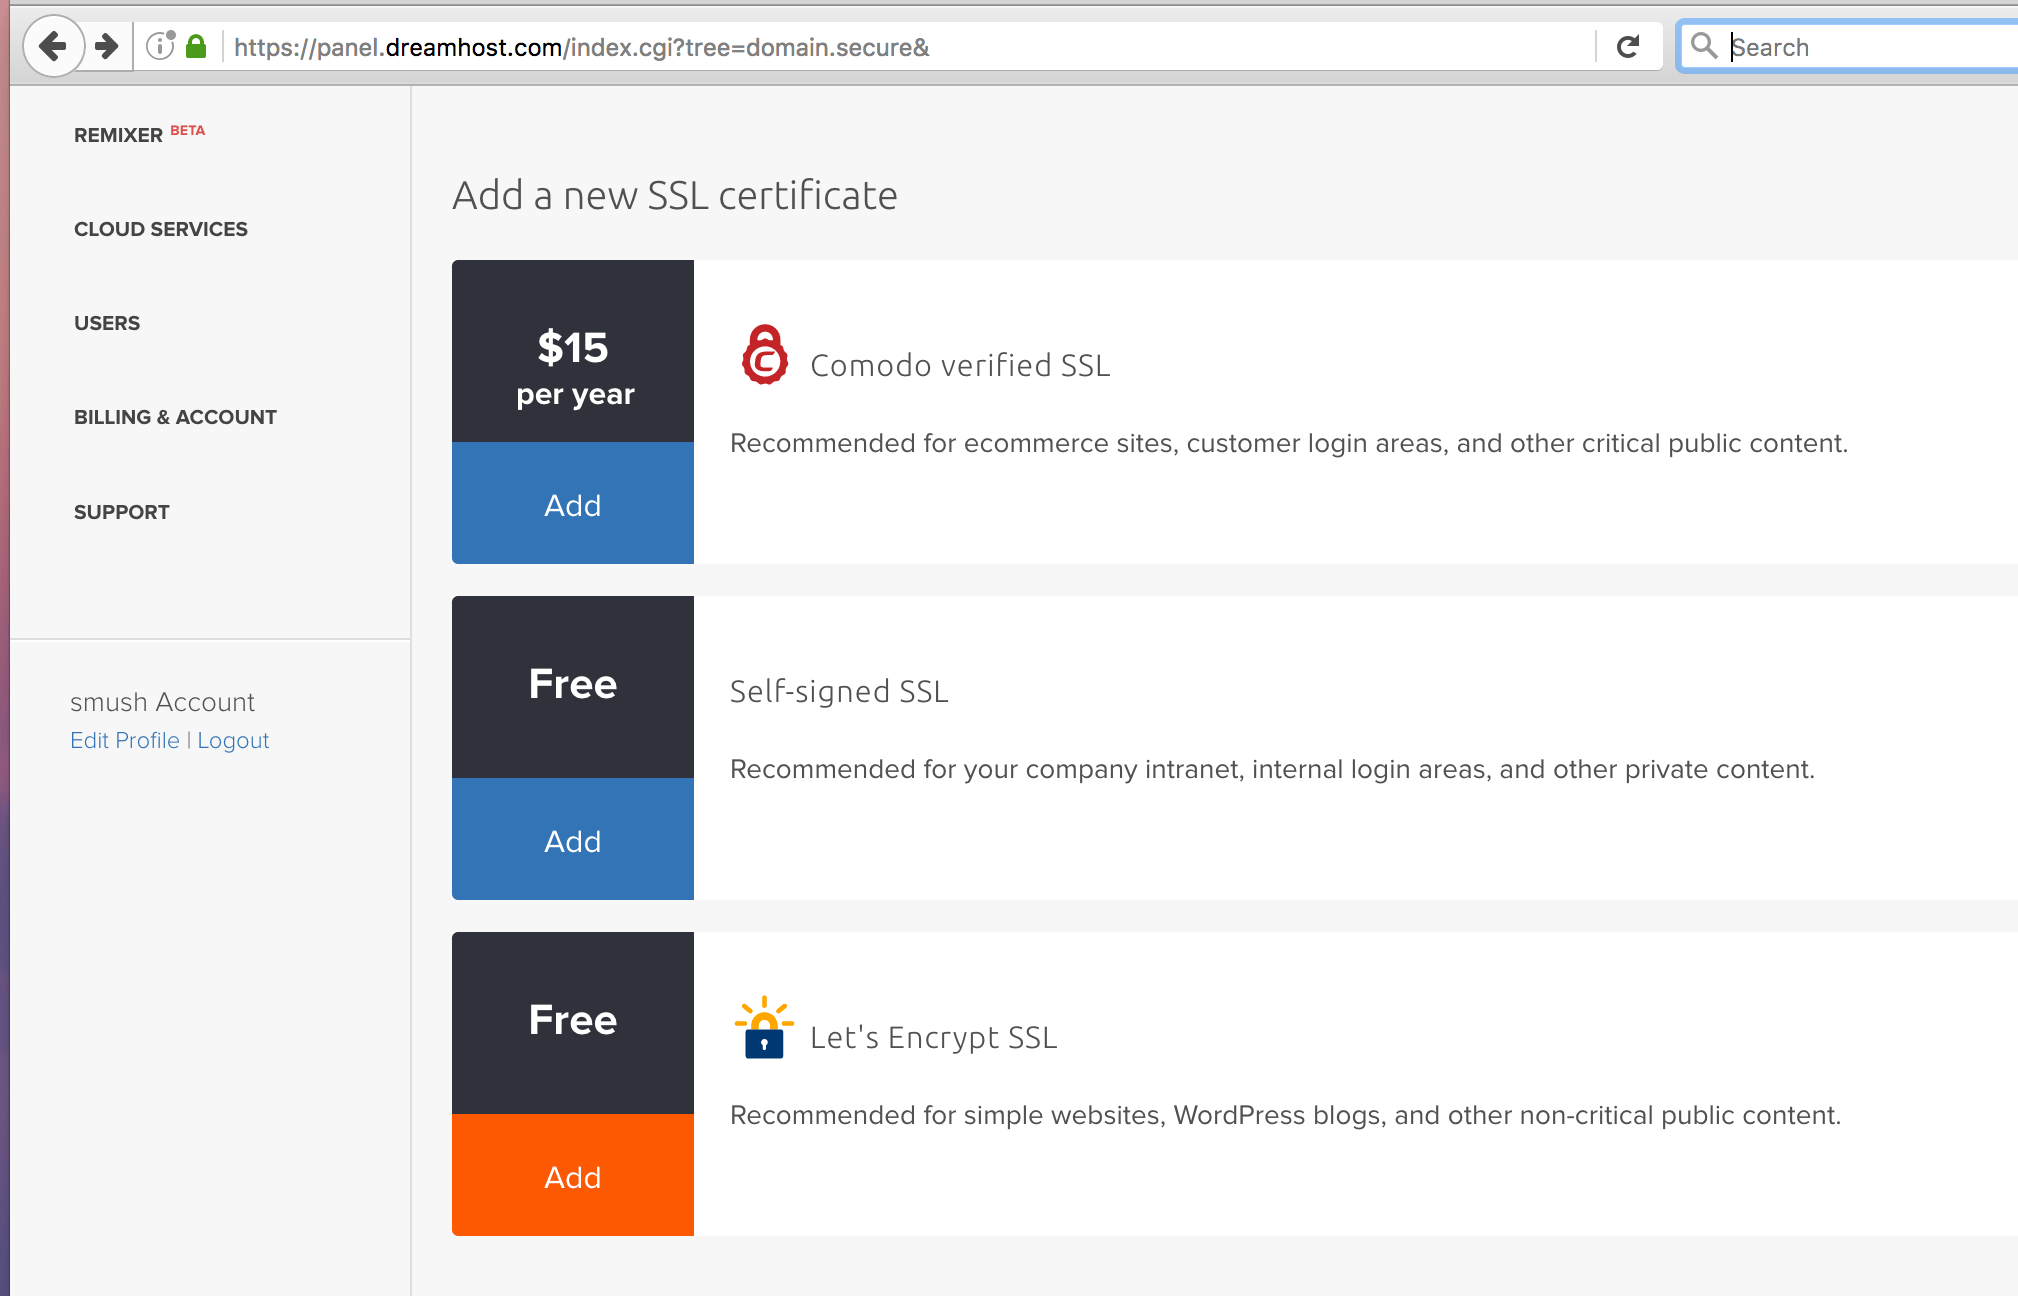
Then pick a domain.

Done!
Give it a coupla minutes (while you're doing backups, next step), then go visit your site with https:// in front.
Backup
One of the least favorite parts when it comes to anything computer-y...
Backup everything (optional)
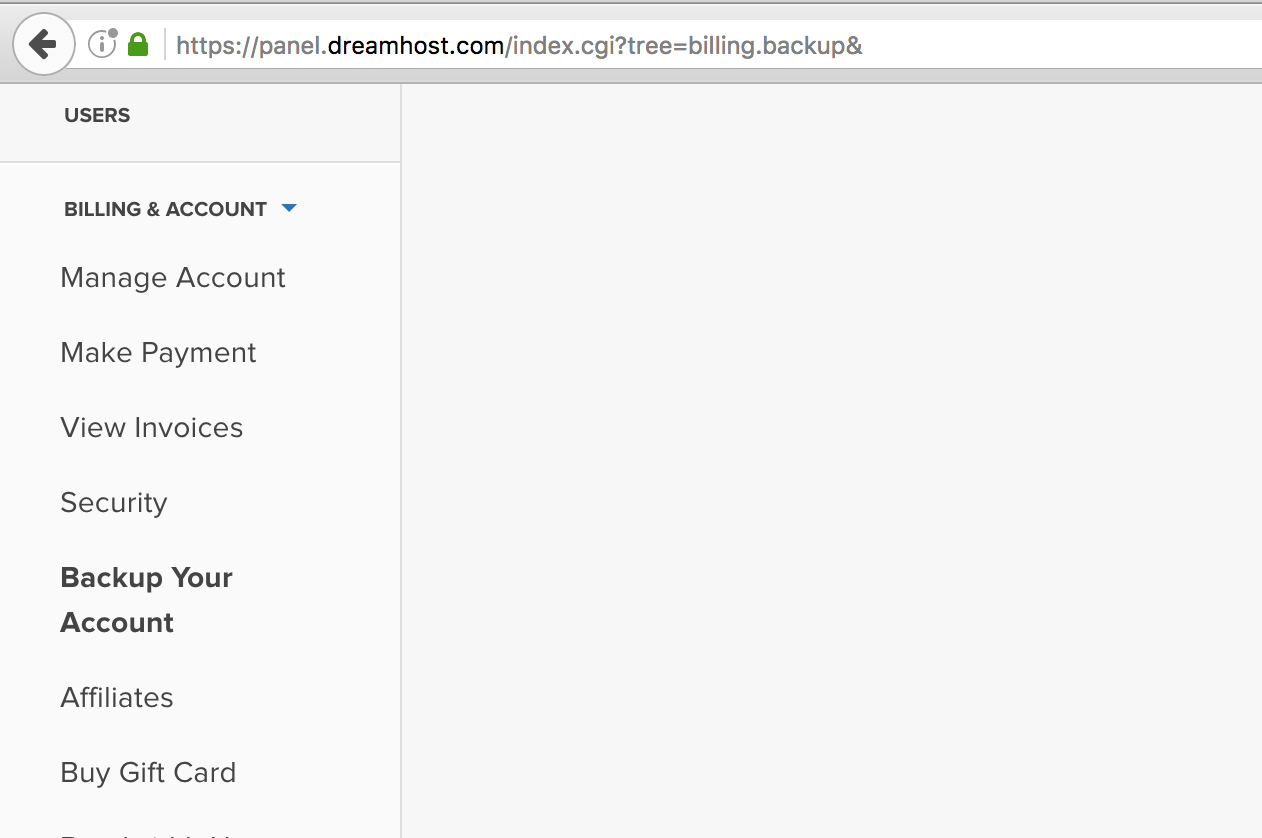
Dreamhost lets you backup all your things - mail and databases and files and everything. You should probably do that at one point or another but it's not required here.
You'll find the option under Billing and Account
Backup the database (optional)
Backing up your whole WP DB is a good practice, not required for the HTTPS migration but it won't hurt. Let's see how.
You need phpMyAdmin. You'll find "MySQL databases" under "Goodies"

Click "phpMyAdmin" next to the database you need.

Drag, what is this password? Well, go to your wp-config.php file and copy from there.
After you login, go to the Export tab in phpMyAdmin and ... export!

No need to touch any of the defaults. Keep the generated file handy in case all hell breaks lose.
Backup the posts
This is the required step so that you can then replace all internal references to http content.
Find the table that ends with posts (in case you're like me and have added weird prefix to all tables) on the left menu. Click. Go to Export tab. Click. Click "Go" button.
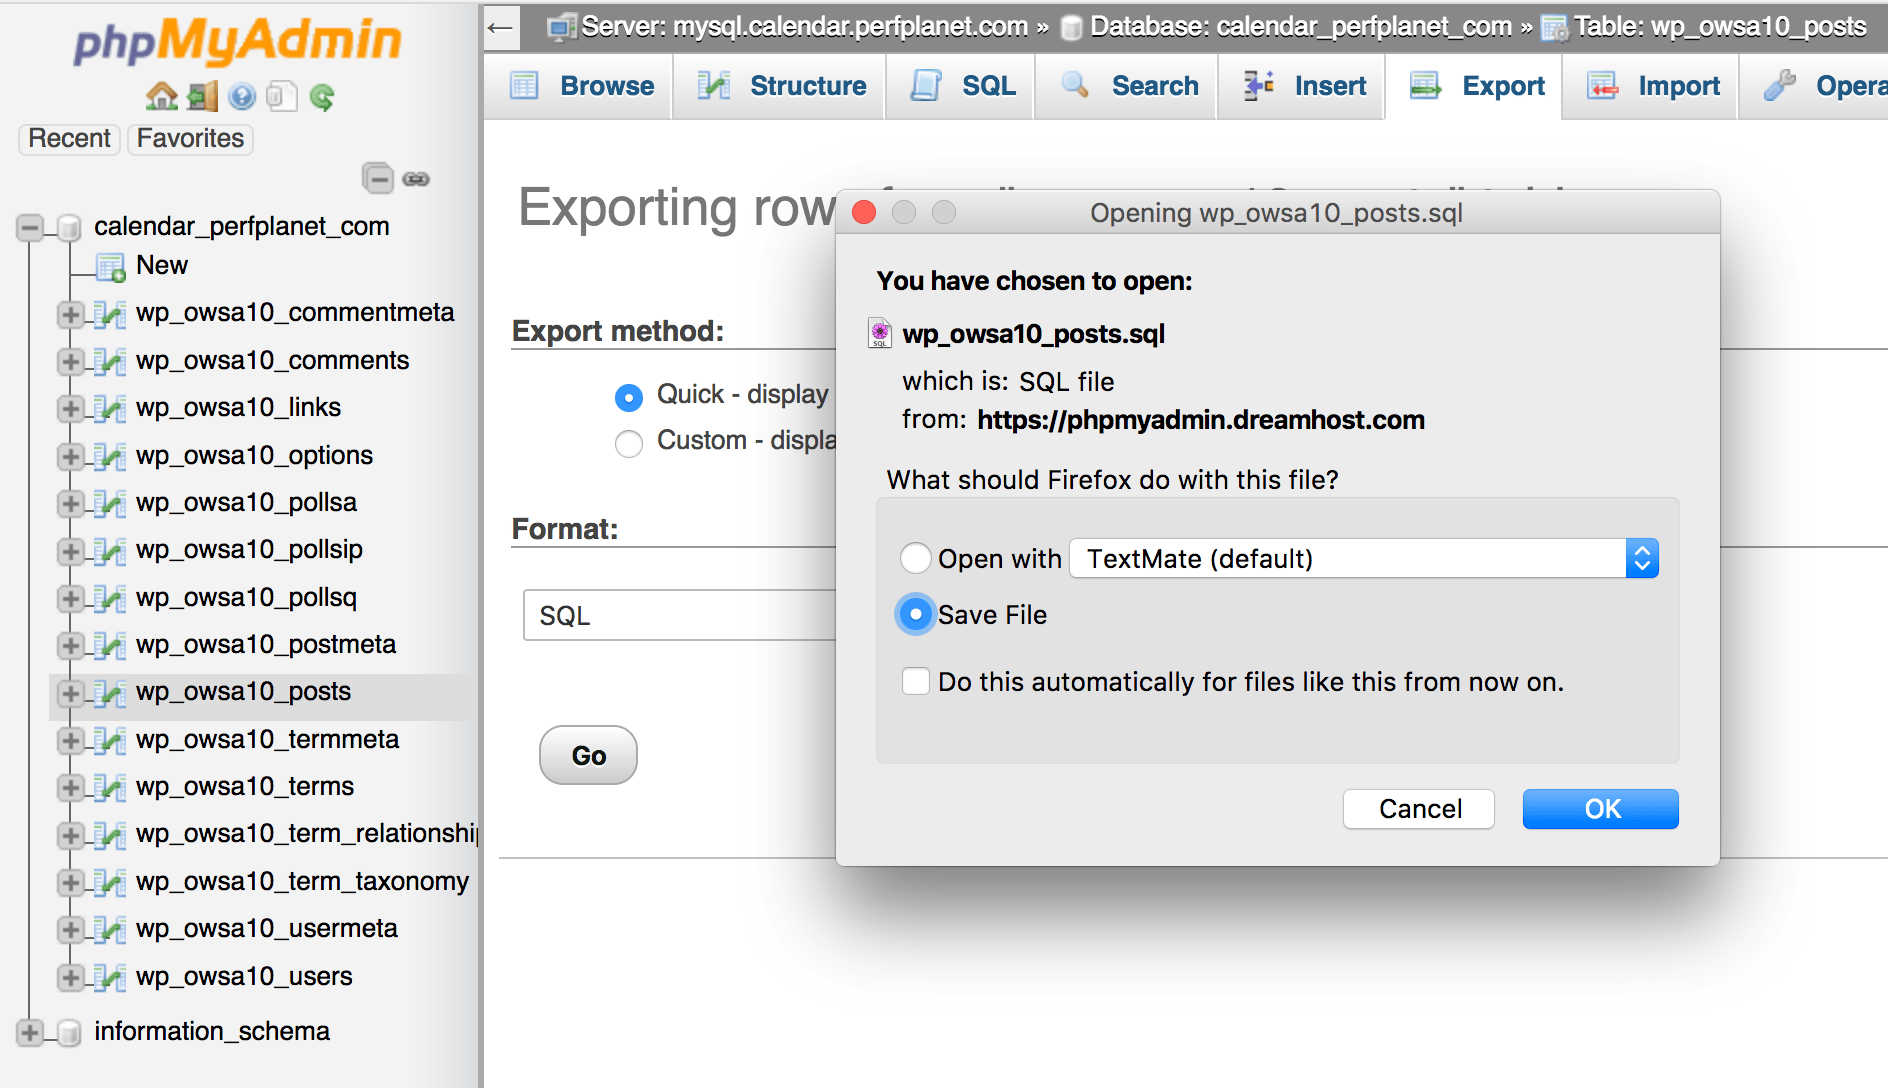
Save the file.
Replace internal references
All <img src="http://yourdomain and <a href="http://yourdomain need to turn into https. Actually links are optional (if you do the next steps with permanent redirect), but why not? Images are not optional, otherwise loading images over HTTP when the page is HTTPS triggers "mixed content" warning.
Open the *posts.sql file you downloaded in the previous step in a regular text editor. I just did a search/replace of "http://calendar.perfplanet.com" with "https://calendar.perfplanet.com". It's possible I've replaced more than img src and a href. But that's ok as far as I know. If you want to be more surgical in replacements... knock yourself out.
Save this file with the http-to-https replaced.
Go back to phpMyAdmin and click the Operations tab (while still working with the "posts" table). You'll see an option to rename the table. Do it. Add "_backup" or something at the end.
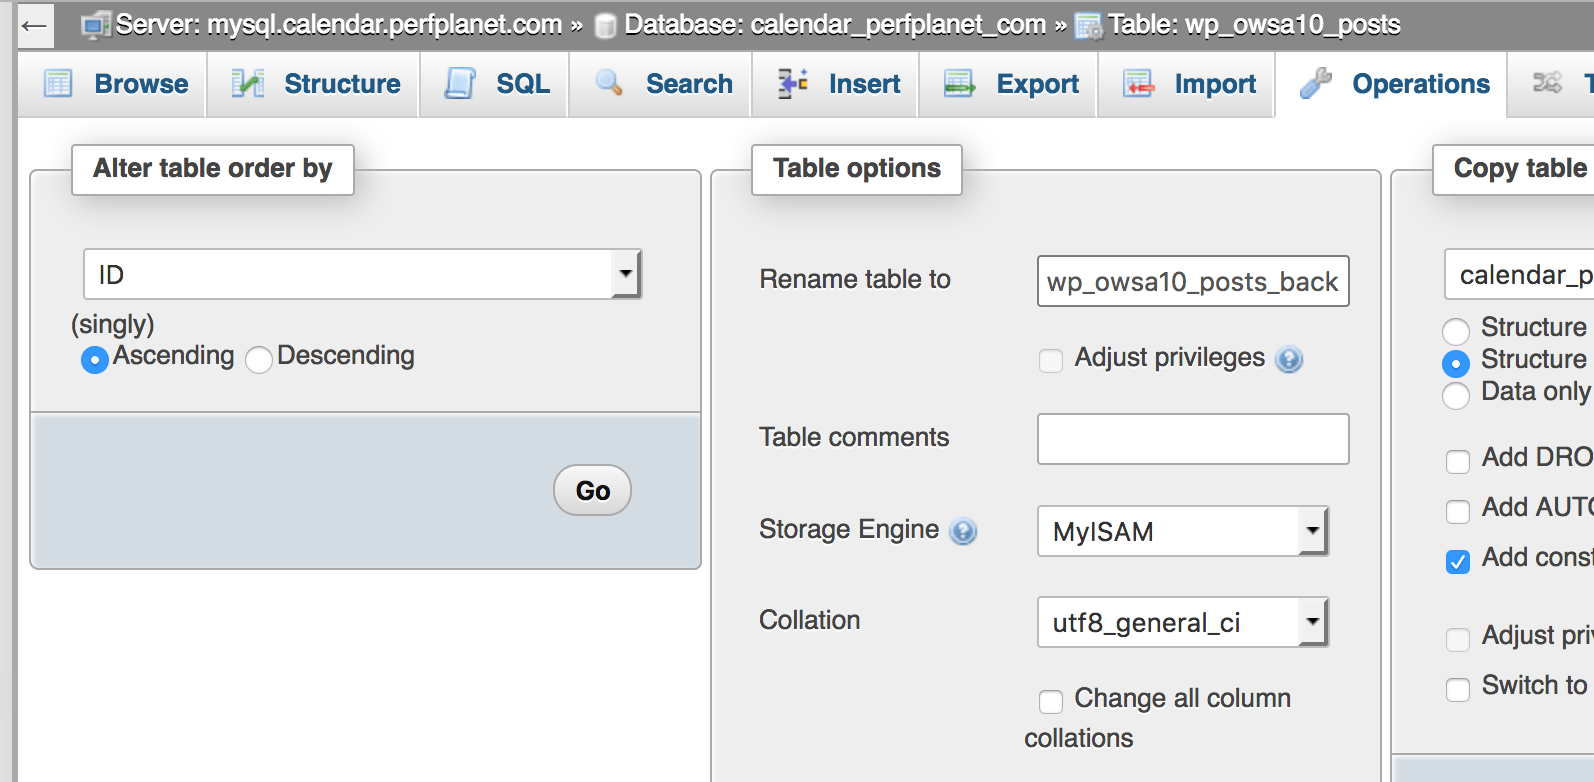
At this point your blog is broken, as there is no table to read the posts from. So not the best time to walk the dog or take a vacation.
Go back to the database level (as opposed to individual table). Click Import tab.
Select your *posts.sql file for upload, leave all defaults. Click "Go" button.
Your blog is now back up.
Not the best time to walk the dog yet, but not the worst either.
WordPress settings
Login to your WordPress admin area. Go to Settings/General. Change URL stuff to https.

Redirect to https
Open your .htaccess file. It probably has an area that looks something like:
# BEGIN WordPress
<IfModule mod_rewrite.c>
RewriteEngine On
RewriteBase /
RewriteRule ^index.php$ - [L]
RewriteCond %{REQUEST_FILENAME} !-f
RewriteCond %{REQUEST_FILENAME} !-d
RewriteRule . /index.php [L]
</IfModule>
# END WordPress
Now above this section, add another section:
# BEGIN HTTPS redirect
<IfModule mod_rewrite.c>
RewriteEngine On
RewriteCond %{HTTPS} !=on
RewriteRule ^(.*) https://%{HTTP_HOST}/$1 [R=301,L]
</IfModule>
# END redirect
Test/tweak?
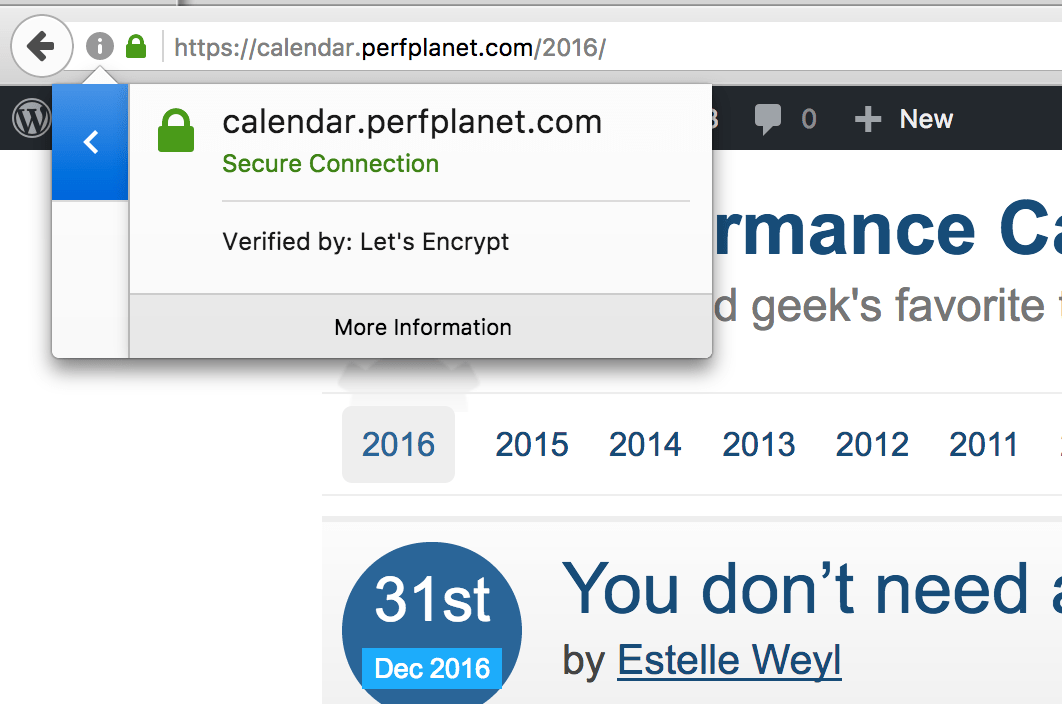
Now everything should be working. Go to your site (with http). It should redirect to https. And you should see some congratulatory green in the address bar.
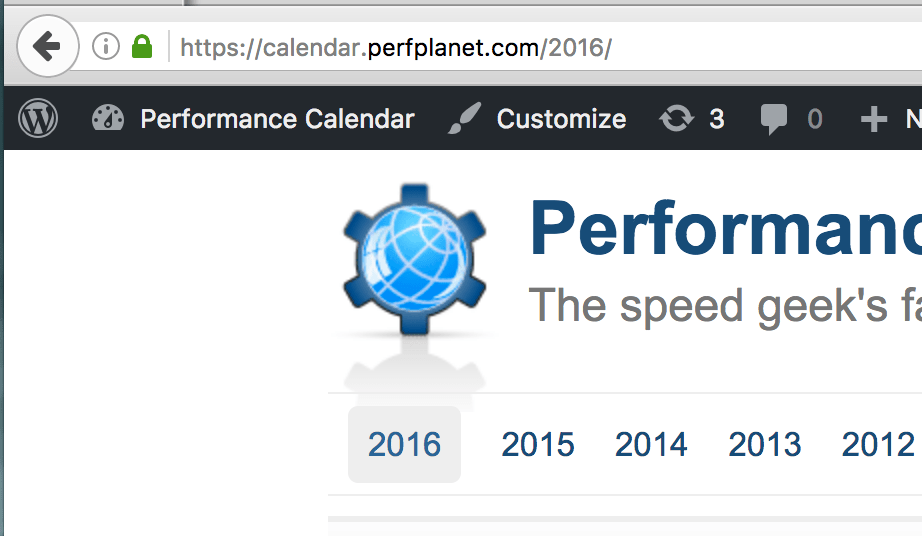
And more:
But what if it's not green? You may have the dreaded "Mixed content". I know I did.
In Chrome. Expected picture:

Actual picture - an i icon. Whaa! Click it.
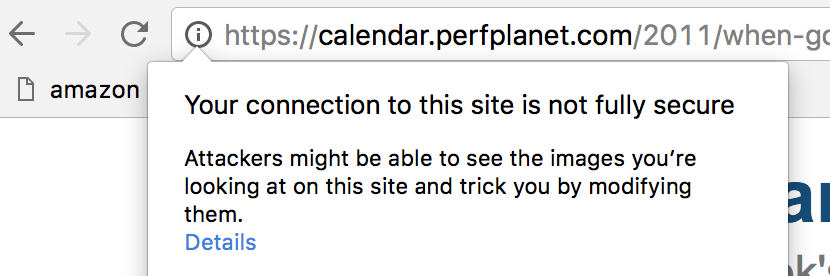
Click Details. Chrome tells you what's wrong.
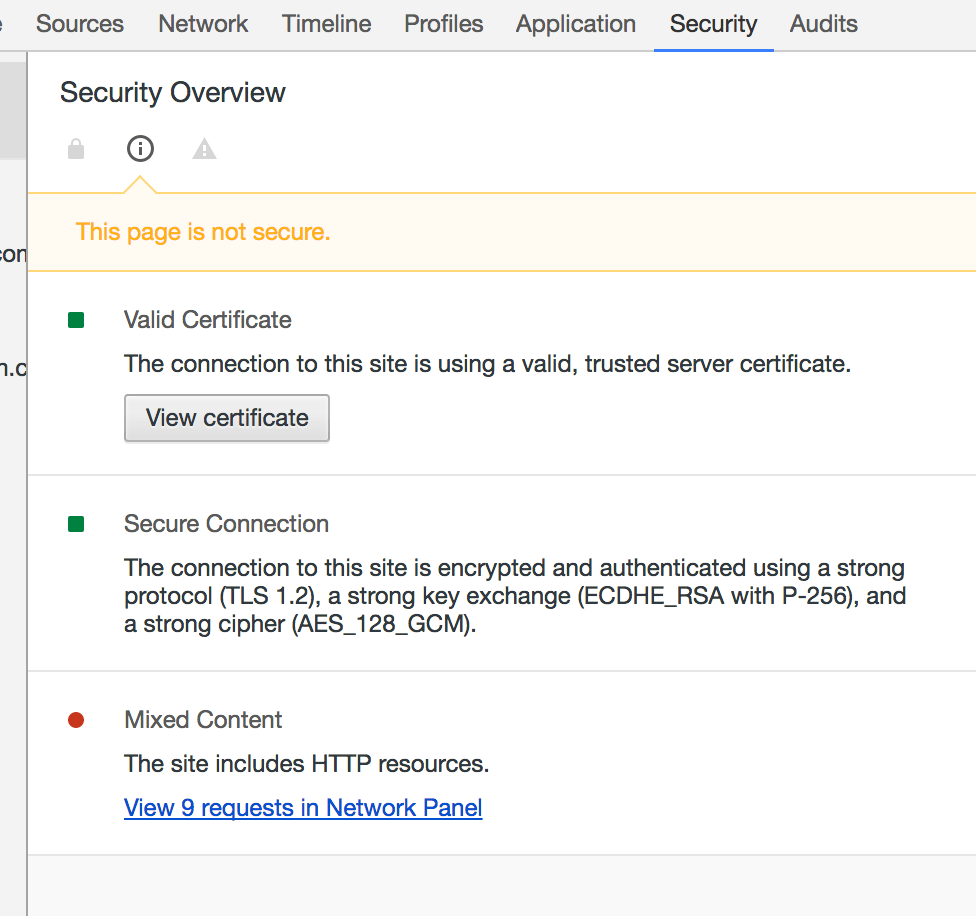
Click "View requests in Network Panel". Figure out what's wrong.
In my case I had gravatars enabled. And a default image over http if there's no gravatar for the person commenting (in a call to get_avatar()). Updating this in the comments.php of my theme fixed it.
![]()
Happy HTTPS-ing!
And thanks for reading!