Every once in a while I feel inspired to create a little tool to "do one thing" (tm). But often I get distracted and a little too lazy to get off the ground and forget all about it. So I thought maybe a little helper can, well, help move things along.
Enter FAIL, short for File API Input Layer (yup, totally made up to match the acronym).
FAIL
It's a very, very simple blueprint for any single-page tool that needs to read a file (or files) from the user and do something with this file. All client-side, naturally, what cannot be done in JavaScript these days?
Here's the thing in action - it takes images through drag and drop or though a file input dialog. Then simply shows the images with some data about them:
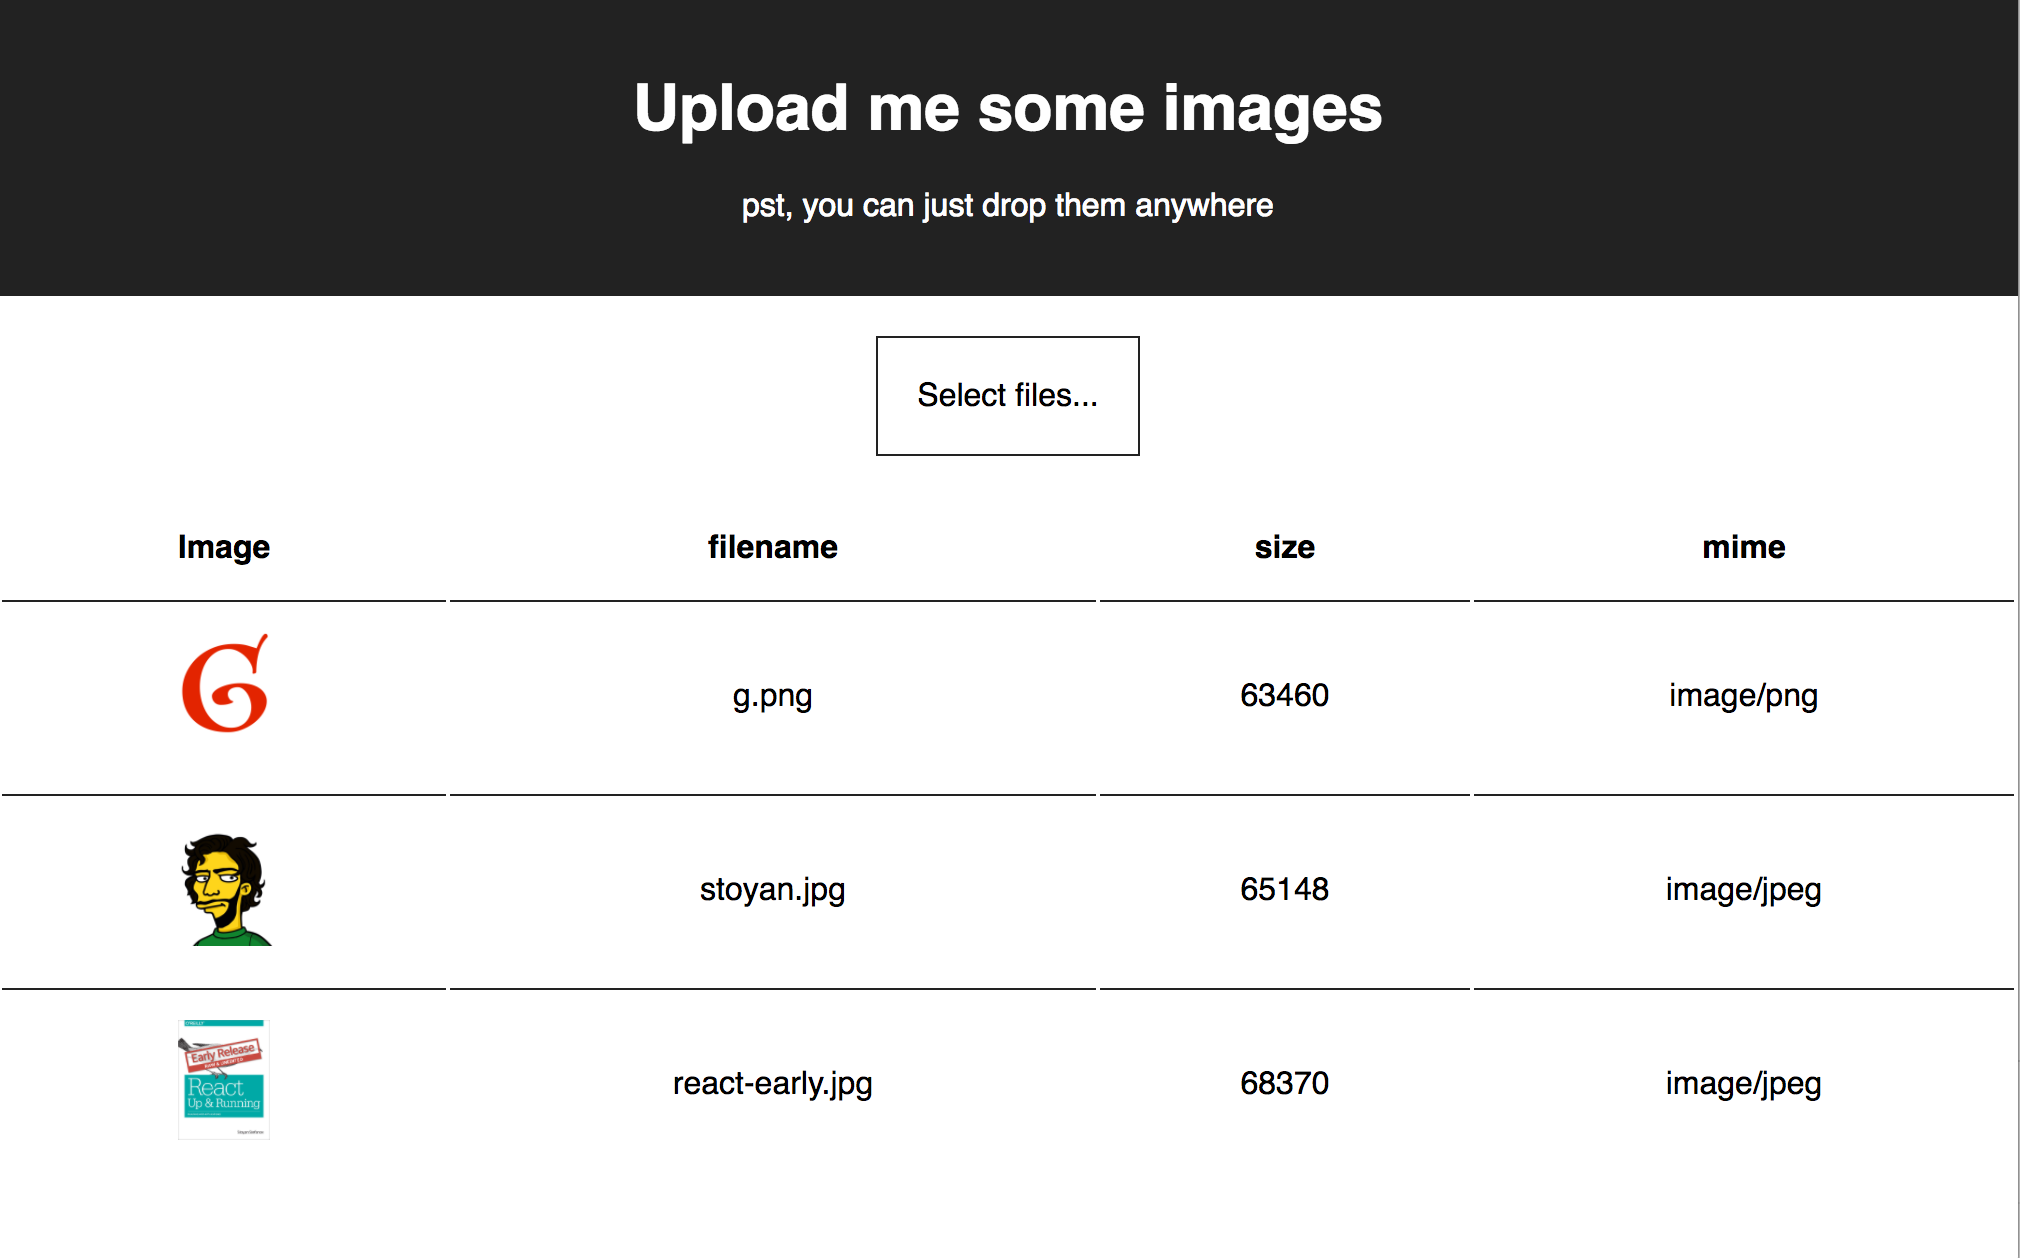
FAIL doesn't do anything with the images, it's the job of the future tools that could be using it.
React
FAIL is written in React. I'm probably still a little old-school and when I have an idea I create a blank test.html and go from there, vanilla-like. But in this case I decided to go against my lazy-bum instinct and use something that can get me off the ground. And allow me to write all the ES2019 I want. Even though this means dreaded SETUP. I hate setting stuff up, kills the mood 🙂 But in this case turns out React is just perfect for this type of tool.
I couldn't be bothered with Redux or whatever though, not even my self-grown DIY flux implementation. That would be too much.
I used create-react-app to get started:
$ create-react-app fail
$ cd fail
$ npm start
Code
I shoved all the JS in one file (can't be bothered) and it still ended up under 100 lines of code. The app's components are composed like:
<App>
  <Uploads />
  <Results />
</App>
App is actually the one generated by create-react-app. In its render() I put:
render() {
  return (
    <div className="App">
      <div className="App-header">
        <h1>Upload me some images</h1>
        <p>pst, you can just drop them anywhere</p>
      </div>
      <div className="Tool-in">
        <Uploads onChange={this.handleUploads.bind(this)} />
      </div>
      <div className="Tool-out">
        <Results files={this.state.files} />
      </div>
    </div>
  );
}
Simple, eh?
Now Uploads and Results are even simpler. They just render something. They don't need to maintain state. So they can be implemented as stateless functional components. If you're not familiar with those see this diff where I switched from ES class syntax to functional components.
Uploads is just a file input:
const Uploads = ({onChange}) =>
  <div>
    <label htmlFor="files" className="Uploads-select">Select files...</label>
    <input
      type="file"
      id="files"
      multiple
      accept="image/*"
      style={{display: 'none'}}
      onChange={onChange}
    />
  </div>;
Results just loops though the uploaded files to put up a table:
const Results = ({files}) => {
  if (files.length === 0) {return <span/>;}
  return (
    <table className="Results-table">
      <tbody>
      <tr><th>Image</th><th>filename</th><th>size</th><th>mime</th></tr>
      {files.map((f, idx) => {
        if (!f.type.startsWith('image/')) {
          return null;
        }
        return (
          <tr key={idx}>
            <td><img alt={f.name} src={window.URL.createObjectURL(f)} height="60" /></td>
            <td>{f.name}</td>
            <td>{f.size}</td>
            <td>{f.type}</td>
          </tr>
        );
      })}
      </tbody>
    </table>
  );
}
Finally the "brains" or the non-render methods of the App component:
constructor() {
  super();
  this.state = {
    files: [],
  };
  document.documentElement.ondragenter = e => e.preventDefault();
  document.documentElement.ondragover = e => e.preventDefault();
  document.documentElement.ondrop = e => {
    e.preventDefault();
    this.update(e.dataTransfer.files); // dropped files
  }
}

handleUploads(e) {
  this.update(e.target.files); // from file input
}

update(moreFiles) {
  const files = Array.from(moreFiles);
  if (!files) {
    return;
  }
  this.setState({
    files: this.state.files.concat(files)
  });
}
As you can see all we need to do is maintain the list of files in the state and all comes to place.
The constructor also takes care of setting up drag-drop listeners.
C'est tout!
I'd be thrilled if anyone uses this as a jumping point to create different tools. We can never have too many tools!
Oh yeah - and if you want to learn React in 2017 just buy my book 🙂
Update: Part 2 where the app becomes a PWA
Comments? Find me on BlueSky, Mastodon, LinkedIn, Threads, Twitter